Pay in installments of $5.71 with
![]() ,
,
![]() and
and
![]()
Shipping Estimate
USA
- USA
- CAN
- USA
- CAN
Ships within 48 hours · Estimated delivery Jul 3 - Jul 8
For Your Every Summer RSVP, with Code: SUMMER15
Description
industrial plant strain seeds SS1 Strain Seeds – Premium CultivarsThe History of SS1 Strain Seeds SS1 strain seeds are here! The SS1 is a proprietary strain to HI TECH and is a cross between Sunset Sherbet and Gelato 41. How to Germinate SS1 Strain Seeds It is pretty simple to germinate your SS1 strain seeds. The process involved does not involve any complexities. While there are various germination methods, your seeds are more likely to sprout when you use the paper towel method. Besides its effectiveness, this
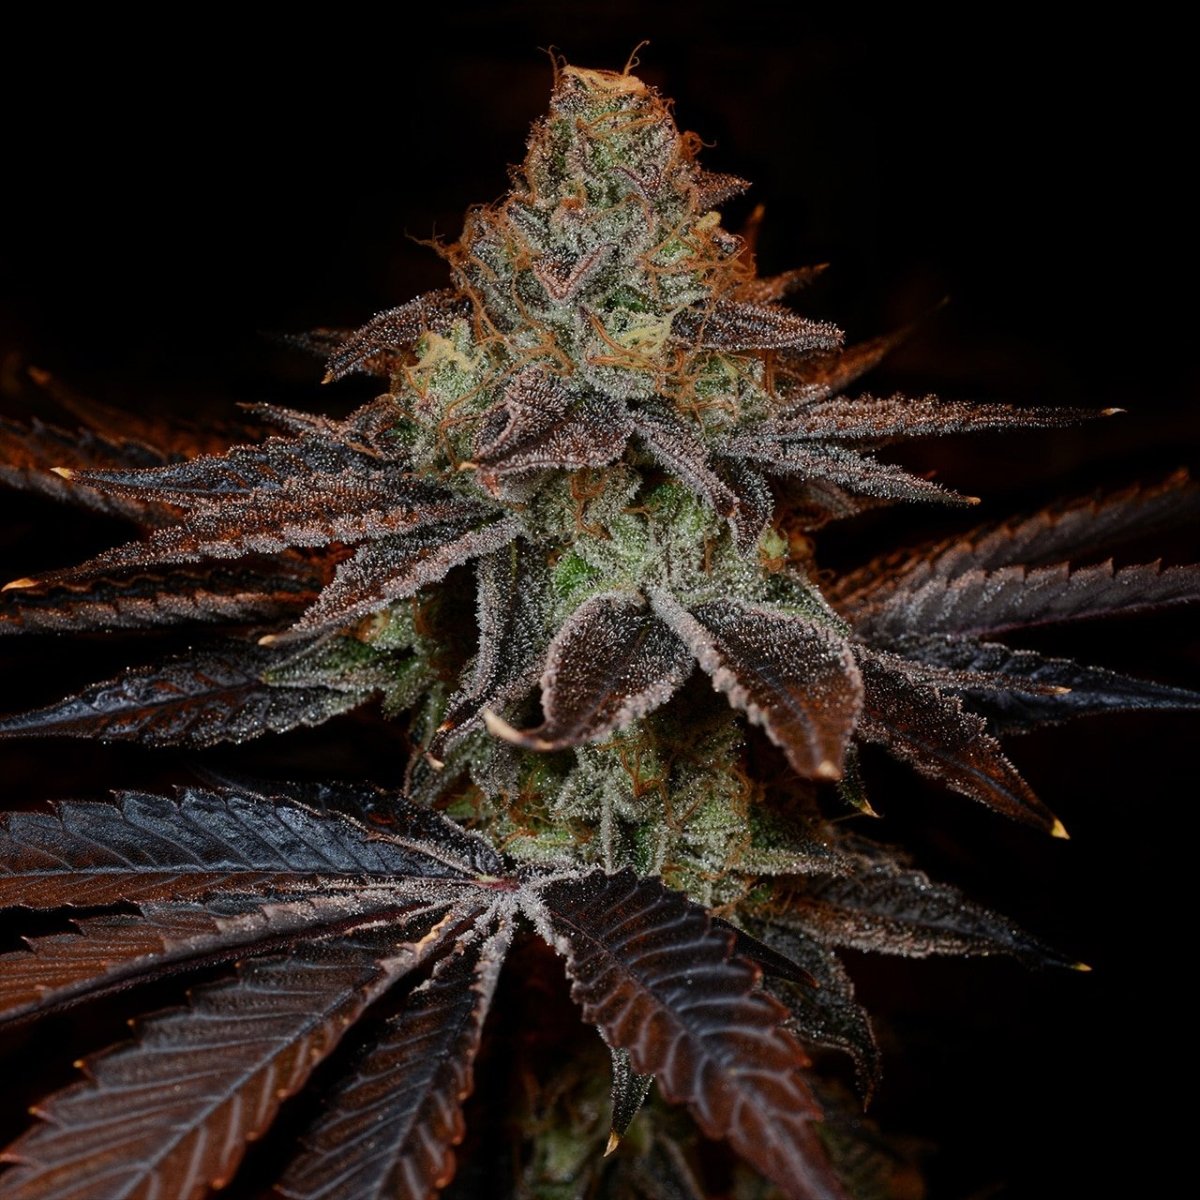
The History of SS1 Strain Seeds
SS1 strain seeds are here! The SS1 is a proprietary strain to HI TECH and is a cross between Sunset Sherbet and Gelato 41.
How to Germinate SS1 Strain Seeds
It is pretty simple to germinate your SS1 strain seeds. The process involved does not involve any complexities. While there are various germination methods, your seeds are more likely to sprout when you use the paper towel method. Besides its effectiveness, this method is also simple and cost-effective. Below is a nine-step procedure of the paper towel method.
- Assemble everything you require for the germination process. This includes SS1 strain seeds, bottled water, paper towels, two plates, and a pair of tweezers.
- Moisten the paper towels with water and wring out any excess moisture.
- Place one moist paper towel on a plate and save the other for later use.
- Take your SS1 strain seeds and arrange them on the plate, separating them an inch apart.
- Cover the seeds with the other damp paper towel. If the towels are dry, add some water.
- Gently lift the towels to check for excess water on the plate and drain, if any.
- Cover the seeds using another plate, and store them in a dark, warm place like a drawer for about one to three days.
- Check on your seeds often and add water, so they do not dry. Water is an essential component for your seeds to germinate.
- After your seeds sprout, pick them up using a pair of tweezers and transfer them to a growing medium.
Why are Feminized Seeds Better than Regs?
Feminized seeds are gender-specific; in this case, they produce female plants only. Therefore, they eliminate the need to sex the plants or separate male and female plants. The cultivation process is more manageable, making feminized seeds suitable for beginners. When growing feminized seeds, you only need to plant a specific number of seeds, meaning you don’t require a large cultivating area. On the other hand, much pace is necessary when growing regular seeds because growers plant twice as much so that they have enough plants left after removing male and intersex plants.
Feminized seeds are also available in a wide range, meaning growers have a selection to choose from. Their reliable and consistent genetics make these seeds ideal for most growers and seed banks.
Growing SS1 Strain Seeds
Knowing the growing basics is essential when growing SS1 strain seeds. The environment where you grow your cannabis seeds impacts their composition, yields, and health. When growing SS1 strain seeds, you should provide bright but not intense light. Lighting is critical in determining yields and figuring out how to store your cannabis seeds. Other factors that you can control when growing SS1 strain seeds include temperature, air circulation, and humidity.
Should I Grow SS1 Strain Seeds Indoors or Outdoors?
The SS1 is a flexible strain that you can cultivate indoors or outside.
Growing SS1 Strain Seeds Indoors
When micro-growing cannabis, you should consider factors like the right soil amount and growing techniques. Other factors like ventilation and hydration are parts of the basics of growing cannabis indoors.
Growing SS1 Strain Seeds Outdoors
Growing SS1 strain seeds outdoors yields more since the plants grow and thrive in their natural habitat. However, most environmental factors are beyond your control, so knowing how to protect your outdoor growth is essential.
How Much Do SS1 Strain Seeds Yield?
How to Get Better Yields from SS1 Strain Seeds
You can get abundant yields from the SS1 strain, provided you maintain the right conditions for the plants to thrive.
The Best Grow Medium for SS1 Strain Seeds
You can use a hydroponic medium when growing SS1 strain seeds indoors, but the soil is best for outdoor cultivation.
The Best Climate for SS1 Strain Seeds
Warm and sunny environments or a Mediterranean climate is best for SS1 strain seeds to thrive.
Problems to Look Out for When Growing SS1 Strain Seeds
Most cannabis plants are highly resistant to diseases and pests, and molds. However, such plant problems can still affect your plants. When growing SS1 strain seeds, you want to look for plant problems like white powdery mildew, root rot disease, and cannabis deficiencies. Usually, these issues manifest through the leaves of your cannabis plants. For example, lack of a particular nutrient may cause leaf discoloration. It is essential to establish the signs of plant problems so that you can take prompt action. These problems can damage your plants, affecting the quality and quantity of yields when left unresolved.
How Difficult is it to Grow SS1 Strain Seeds?
Are SS1 Strain Seeds Suitable for Beginners?
Growing SS1 strain seeds is moderately complex, but beginners can also be successful at getting high yields.
The Best Grow Techniques for SS1 Strain Seeds
Topping
Cannabis plants can grow quite tall, especially in outdoor plantations. Topping allows growers to control the length of plants by limiting vertical growth and encouraging lateral growth. This technique can also boost your yields when growing SS1 strain seeds.
Screen of Green
The screen of green technique is whereby you spread the leaves of your plants using ropes and nets. This ensures adequate light penetration, improved air circulation, and enhanced structural support. The screen of green (SCROG) method is essential when growing our SS1 strain seeds indoors.
Sea of Green
You can use the sea of green method to cultivate your SS1 strain seeds indoors where you don’t have the luxury of space and light. This technique involves growing small cannabis plants in tight packs, maximizing the use of available space, and creating a canopy that traps light.
Are there Similar Seeds to SS1 Strain Seeds for Sale Online?
Other seeds similar to SS1 strain seeds include ss2 strain seeds.
Where can I Buy SS1 Strain Seeds?
You can buy SS1 strain seeds online from Premium Cultivars – the number one online seed bank in the United States,
How do I Buy SS1 Strain Seeds?
Buying SS1 strain seeds is a simple process. First, you want to log into our Premium Cultivars website to confirm if the seeds are available. If in stock, select among the available pack sizes of 6, 12, and 24, then place your order. We accept payment through major credit cards. Deliveries are across all the States that have legalized cannabis for recreational use. Free delivery on all orders above $100.
Shipping Notes
- Free Standard Shipping on $100+ Orders to the USA.
- Except Preorder products are shipped in 48 hours.
- Delivery to the USA:
- Standard Shipping : 3-10 business days
- If time is of the essence, please consider selecting expedited delivery for faster service.
Exchange/Return Notes
- We offer a 30-day return/exchange service after receiving.
- Final sale items are not eligible for returns or exchanges.
- To process your return/exchange, please contact us at [email protected]
- Please click here for more details>>> Return & Exchange Policy