soaking pumpkin seeds for planting Organic Pumpkin Seeds — 'Jack O' Lantern'
SKU: 7863340029
soaking pumpkin seeds for planting

soaking pumpkin seeds for planting Organic Pumpkin Seeds — 'Jack O' Lantern'

Sale price$21.11 Regular price$23.46
Save 10%

Pay in installments of $5.87 with ShopPay, AfterPay and Klarna

Shipping Estimate
USA
  • USA
  • CAN

Ships within 48 hours · Estimated delivery Jul 3 - Jul 8

Promo Codes Available:

For Your Every Summer RSVP, with Code: SUMMER15

Description

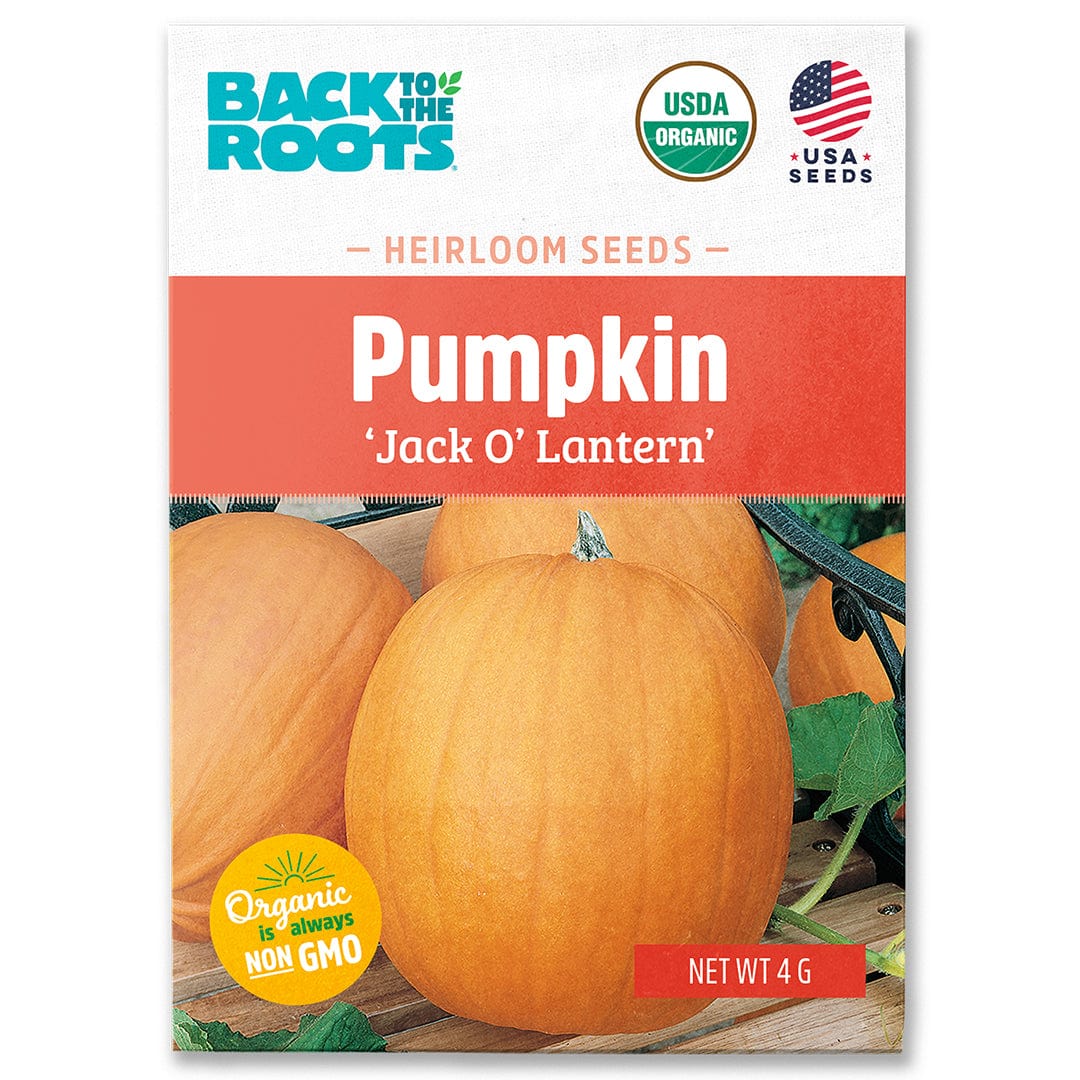
soaking pumpkin seeds for planting Organic Pumpkin Seeds — 'Jack O' Lantern'Overview Treasured for their ease of cultivation, high food production and excellent storage, pumpkins have been a staple crop in the Americas for millennia. Widely known as an iconic Halloween and fall crop, orange fleshed varieties are rich in beta carotene, antioxidant vitamins C and E, and potassium. Conditions Pumpkins require warm temperatures (above 70F) before planting. For soil, use a fertile well draining potting mix thats tailored for

Overview

Treasured for their ease of cultivation, high food production and excellent storage, pumpkins have been a staple crop in the Americas for millennia. Widely known as an iconic Halloween and fall crop, orange-fleshed varieties are rich in beta carotene, antioxidant vitamins C and E, and potassium.

Conditions

Pumpkins require warm temperatures (above 70°F) before planting. For soil, use a fertile well-draining potting mix that’s tailored for vegetables. Add ample compost or manure, as pumpkins are heavy feeders. For best quality crop, provide full sun (6+ hours of direct sunlight per day). Pumpkins also need ample vining space, so plan accordingly.

Planting

Pumpkins are a warm-weather crop with a long growing season that prefer to be planted directly in the garden. Plant seeds in late spring when the soil is at least 70°F and frost danger has passed. Use our grow calendar tool to find specific planting dates for your region! Seeds germinate in 7-14 days.

Plant 4-6 seeds in groupings 1/2-1" deep spaced 4-6 feet apart. Plant seeds in “pumpkin hills” - slightly raised mounds above the normal garden floor. This helps keep soil temperature warmer. Thin to 1 plant per spacing interval after seedlings are established. 

Care

Pumpkins are heavy feeders. Regular treatments of manure, compost, or fertilizer mixed with water will sustain good growth. Use a high nitrogen formula in early plant growth, and switch to a high phosphorus fertilizer before the blooming period.

Pinch off each vine end after a few pumpkins have formed. This will stop vine growth and encourage fruit growth. As fruits develop, they should be turned (with great care not to hurt the vine or stem) to encourage an even shape.

Pests and Disease

Common cucurbit diseases include powdery mildew, downy mildew, bacterial wilt, and phytophthora. Avoid problems with adequate soil drainage, good air flow, insect pest control, and crop rotation. If necessary, check with your local Cooperative Extension Service agent for specific control options.

Cucumber beetles, squash bugs, and vine borers are all common pests for cucurbits. Protect young plants with floating row covers. Squash bug eggs found on the undersides of leaves may be crushed by hand. For vine borers, cut out of vines and hill soil over the wound. Keep field borders mowed and remove plant refuse in the fall; spring plow to bury pupae. C. moschata types are less susceptible to vine borers. Insecticides (specifically, pyrethrin sprays) may offer some control.

Harvest

Fruits can tolerate 1-2 light frosts, however, temperatures below 28°F/-2°C can damage fruit.
Pumpkins are ripe when rinds have turned orange and hardened, and a “thump” with your finger feels hard and sounds hollow. Harvest by clipping handles close to the vine. Let the pumpkins cure in the sun for a week prior to bringing indoors or transporting. 

Shipping Notes
  • Free Standard Shipping on $100+ Orders to the USA.
  • Except Preorder products are shipped in 48 hours.
  • Delivery to the USA:
  1. Standard Shipping : 3-10 business days
  • If time is of the essence, please consider selecting expedited delivery for faster service.
Exchange/Return Notes
  • We offer a 30-day return/exchange service after receiving.
  • Final sale items are not eligible for returns or exchanges.
  • To process your return/exchange, please contact us at [email protected]
  • Please click here for more details>>> Return & Exchange Policy
SKU: 7863340029

Discover Niche Categories That Outsell soaking pumpkin seeds for planting

Top-Converting Item to Boost Your Average Order

4.9 ★★★★★
Based on 1779 reviews
Sort
Highest Rating
Newest First
Oldest First
Product Reviews
S
Verified Purchase
Steve M.
New York, US
★★★★★ 5
Works well. You need to drill a 3/8” hole
Appears to be well made, alignment bar slides in nicely. As stated, you need to drill a hole in the bar for the gimble bearing driver, the directions are not clear, what I did was before I take out the old gimble bearing, put an O ring on the bar close to the last step on the bar, slide the bar all the way in, then carefully slide the bar out, this marks the distance from the back of the gimble bearing to where the shaft on the outdrive bottoms out, move the O ring a 1/4” towards the stepped part of the alignment tool (this is so you won’t bottom out the alignment tool when driving the gimble bearing in) then slide the driver puck up to the O ring and use a 3/8” diameter transfer punch through the side hole in the puck to mark the bar. You need to drill a 3/8” diameter hole in the alignment bar, two V blocks, some clamps, and a drill press will make drilling much easier, after the bar is securely mounted and centered in the drill press, use a center drill, then 1/4” drill first, using plenty of oil, drill all the way through, then use the 3/8” drill, deburr both sides and you should be good to go. People complain that it doesn’t come pre-drilled, the reason is that not all out drives are the same so you have to fit it to the outdrive that you have. Fortunately, I have a machine shop at my house and have a jig setup with various drill bushings, but the method I described above should work for you. Just make sure you’re perfectly centered and secure before you start drilling.
WAS THIS REVIEW HELPFUL?YesReportShare
Reviewed in the United States on April 16, 2026
N
Verified Purchase
Nancy filippi
New York, US
★★★★★ 5
A must pull your gimbal bearing
You do need to drill a hole but worked perfect
WAS THIS REVIEW HELPFUL?YesReportShare
Reviewed in the United States on December 26, 2025
R
Verified Purchase
rich911s
West Palm Beach, US
★★★★★ 5
Worked for Volvo Penta SX Gimbal Bearing
Very heavy tool, I was surprised. Pulled my bearing like it was nothing. Putting the new bearing in was a little more difficult as you have to drill a hole in the engine alignment shaft where it will work for your particular outdrive. Not hard, but it does not come pre-drilled as the required depth for each particular gimbal bearing differs by manufacturer and model. Measure your bearing placement before removal and check that it was installed correctly in the first place. The bearing should line up with the grease fitting and the o-rings on the drive shaft should end up riding in the middle of the bearing. once you have your measurement drill the hole, I used a drill press. I suppose you could use it on multiple outdrive models as long as you can drill more holes.
WAS THIS REVIEW HELPFUL?YesReportShare
Reviewed in the United States on June 5, 2023
G
Verified Purchase
Greg
Boise, US
★★★★★ 5
Great value
This kit worked perfectly on my Alpha one mercury outdrive. I saw a lot of people mention that it was a hassle to drill the hole when you better have all this alignment stuff. I threw it in use my regular drill drill guide and then the second hole was lined up. Pulling Gimble be very easy. I did have to adjust it up at an angle because my bearing was sitting in their crooked and it came out the second time I made the adjustment to the angle. I would highly recommend this.
WAS THIS REVIEW HELPFUL?YesReportShare
Reviewed in the United States on April 16, 2024
T
Verified Purchase
Tommy Knapp
Fort Morgan, US
★★★★★ 1
Unfinished product - doesn't work - waste of money
in order to use this as an installation tool the directions tell you to drill a hole through the 2 inch steel rod..... either this hole should already be drilled, or this should not be advertised as an installation tool..... it will not install any bearings without extensive modification and requires the use of a drill press or a lathe. very dissatisfied that I now have to buy ANOTHER tool just to finish this job because this one doesn't do what it's described to do.... piece of junk... typical amazon garbage.... this is why I haven't used amazon in over a year... they rip you off with garbage.... I should have known better .... don't buy this junk .... Now they say 20 -30 days to get my refund .... Don't waste your time
WAS THIS REVIEW HELPFUL?YesReportShare
Reviewed in the United States on May 26, 2026

recommand products